MODULARITY
Refers to the capability of connecting pieces together in order to assemble an environment. With Crackpot Assembly this can be done both horizontally and vertically. There are a several essential pieces:
CONNECTORS
With each .zip file we include several different kinds of connectors. Two of them are OpenLOCK clips created by Printable Scenery, and one is a variation that I came up with. They each have their pros and cons, and you can decide for yourself which method works best for you.

Double: very solid connection but harder to disassemble; good for relatively permanent assemblies
Magnet: weak connection, requires magnets and epoxy, but very easy to assemble/disassemble
Crackpot Pegs: a compromise between the two
BASE TILES
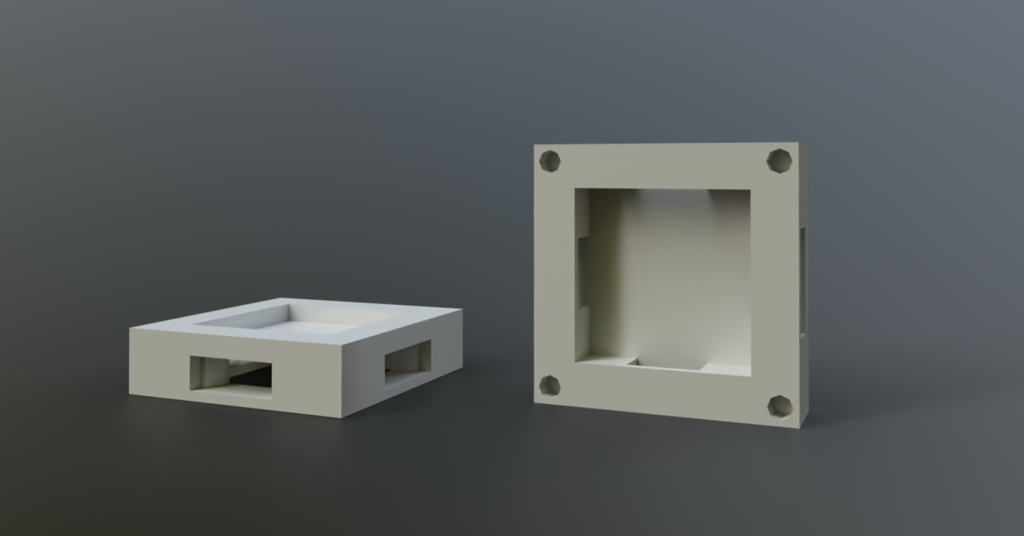
One of these base tiles correlates to 5’ on a typical TTRPG grid.
- There’s one cavity on each side for the connectors to connect to
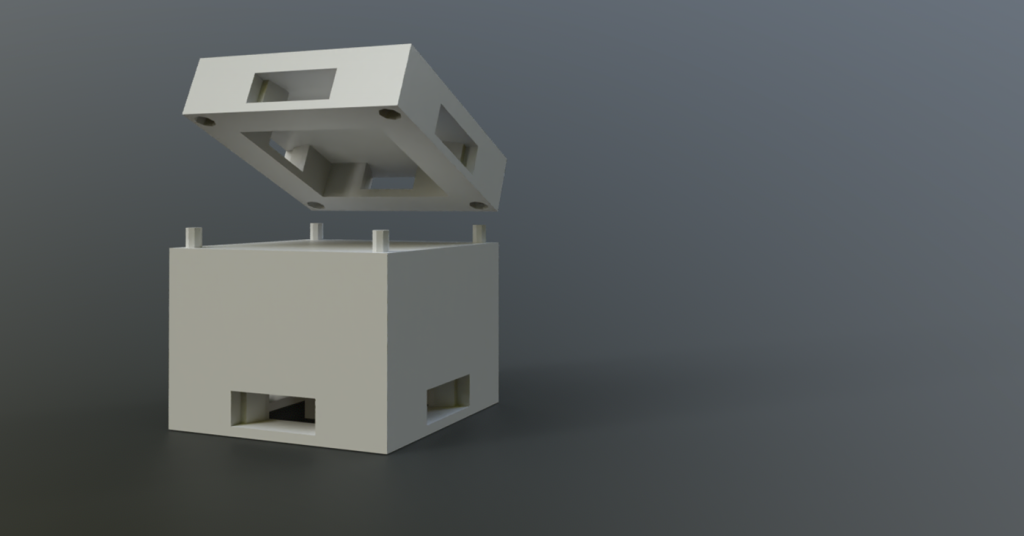
- On the underside there are four cavities for Corner Pegs to fit into
- Each Base Tile has a submerged area in the middle for the rare cases when a tile needs to show that something goes below ground level (like stairs leading down)
CORNER PEGS
Customization
ELEMENT CLASSES
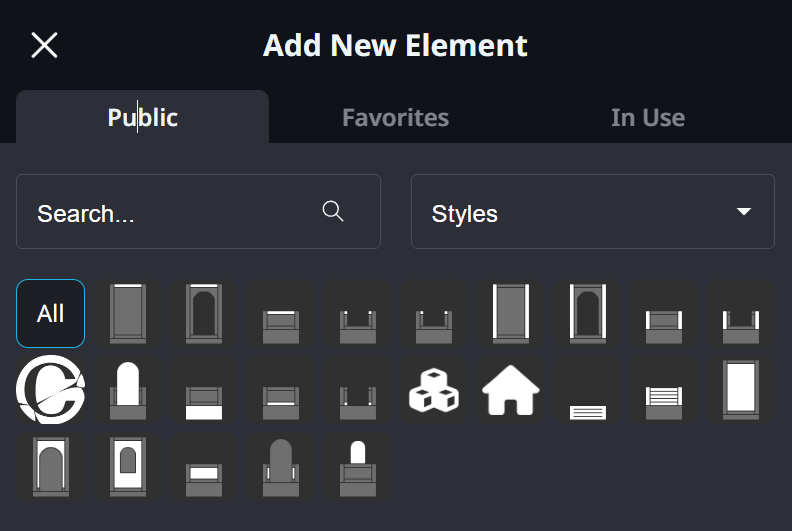
In the diagram below you’ll see a partial list of the Element Classes available.
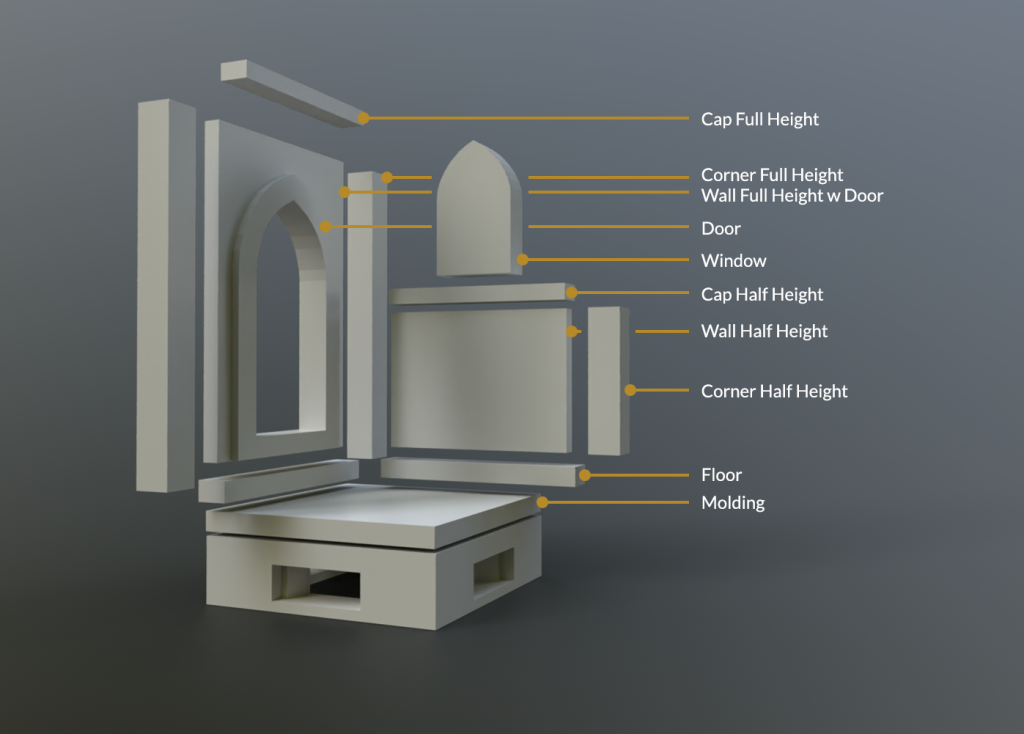
- Cap Full Height
- Cap Full Height w Door
- Cap Half Height
- Cap Half-Height w Door
- Cap Half-Height w Window
- Corner Full Height
- Corner Full Height w Door
- Corner Half Height
- Corner Half Height w Door
- Custom
- Door
- Floor
- Molding
- Molding w Door
- Prop Accessory
- Prop Structural
- Stairs Down
- Stairs Up
- Wall Full Height
- Wall Full Height w Door
- Wall Half Height
- Wall Half Height w Door
- Window
Each Element class has numerous Elements within it to choose from (sometimes hundreds). All told I think we have about 1000 Elements for Early Access, but this list will continually grow, and potentially can grow quite rapidly. Using our Builder Tool you get to create the Tile you want and save it to your Custom Tile library.
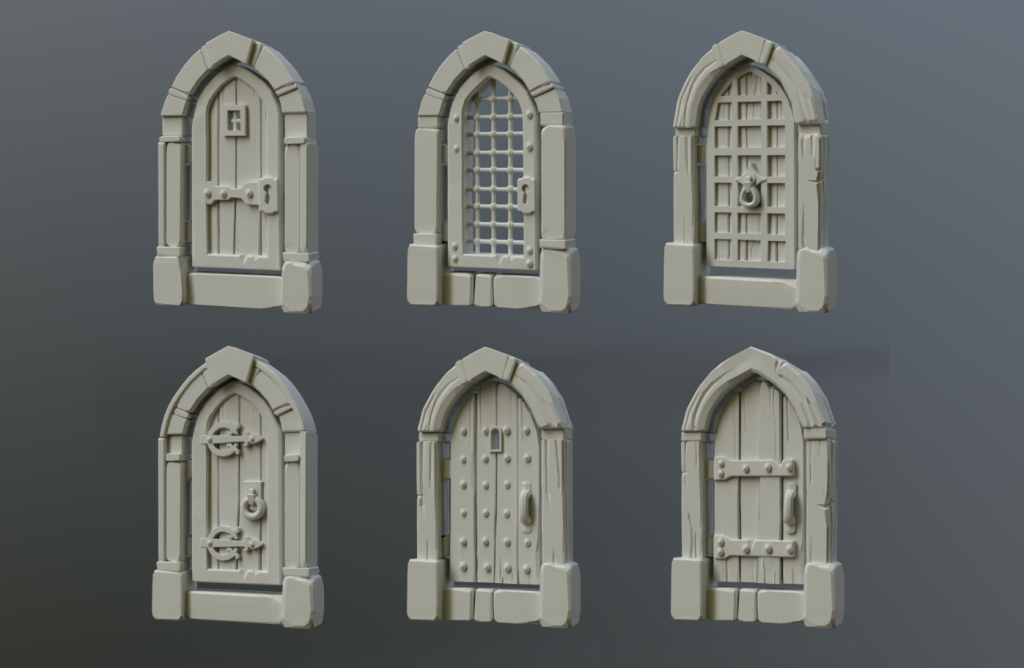
In this example you’ll see a few of the choices you have for selecting what kind of door you’d prefer.
Assemblies
Filtration
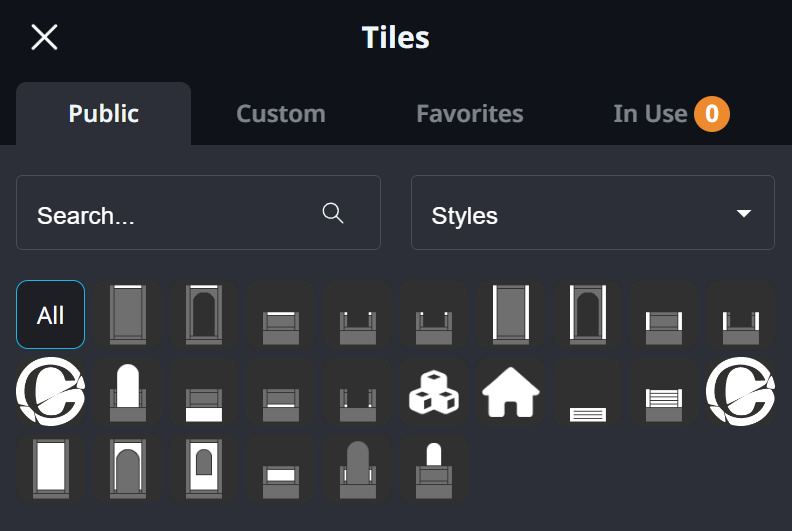
Filtration is the means by which you can reduce and narrow down the results when searching either through the Elements or Tiles menu in the Builder Tool.
Elements are all supplied by Crackpot Assembly. As such, they are all Public.
You have the option of favouriting any number of Elements by clicking on the star icon on every thumbnail. You are told which Elements are In Use when you are Editing a Tile. Its very handy when you want to search for other items in the same style, or if you want to duplicate items.
Tile Filtration works very much the same way, though there’s an additional Custom tab for any Tiles you create of your own. Note that if you Edit a Public Tile and save it, it will be added to your library as a Custom Tile.
